

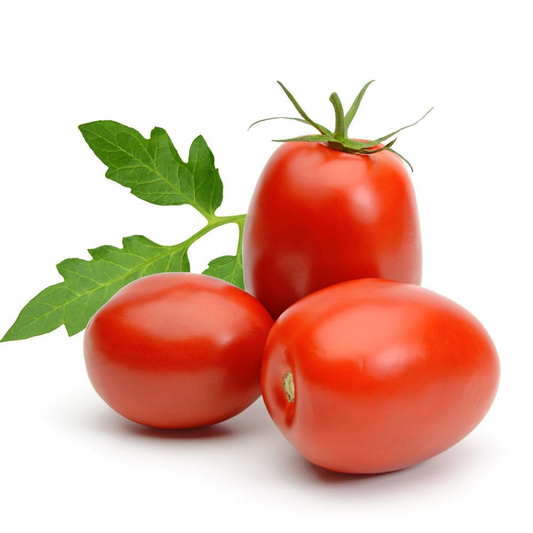


Making Cheddar Cheese at Home: Step-by-Step Guide for Beginners
You might not have heard of making cheese at home, that too a cheddar cheese, your all-time favorite. Make the white cheddar cheese or the sharp cheddar cheese from scratch with the right tools and the right ingredients at home.
Fruitco’s got your back with a no-nonsense guide to churning out cheddar from scratch. We’ll show you the whole process, step-by-step cheddar making, fun riffs like white cheddar cheese or sharp cheddar cheese, and, for the cheese lovers, we’ll even throw down a little cheddar vs. feta comparison with all the juicy nutrition effects.
Why Make Cheddar Cheese at Home?
Why make cheddar cheese at home when you can easily buy it from any nearby store? Here are a few answers that can satisfy your queries:
Healthier Option
When you make anything at home from scratch, you are the owner of the ingredients. You know what you are putting in it and in what quantity. The same goes for the cheddar cheese case. You do not add any preservatives, useless additives, or artificial flavors. Everything is pure and natural.
CostEffective
Making your own cheese can save you a lot of money compared to buying a top-notch French cheese.
Satisfying Hobby
Honestly, making cheese is the same as kneading dough for bread or grinding up beans for a fresh cup of coffee. It’s an old-school, hands-on hobby that is different.
Understanding Cheddar Cheese
Cheddar cheese is one of the most bought and loved cheeses in the cheese world. It was first made in a little English village called Cheddar, but now you’ll find it in fridges from New York to New Zealand. The best thing about it is that it has that sharp, punchy flavor, it actually wakes up your taste buds, and the longer it sits around aging, the more it develops that perfect tang. Honestly, cheddar just hits differently.
Sharp Cheddar Cheese
The sharp cheddar cheese is aged for like 612 months or more. It is more crumbly, sharper, and tangier than the mild cheddar.
White Cheddar Cheese
Yellow cheddar cheese and white cheddar cheese have the same making process, except that we add color to the yellow, like annatto. That is why white cheddar cheese has a pure and pale look.
Tools You’ll Need
- Big stainless steel pot
- Something sharp and long for slicing curds
- Cheese thermometer because temperature totally matters here
- Cheese mold and a press
- Cheesecloth
- Colander
- Measuring cups and spoons
- Finally, a sanitizer. Seriously, don’t skip this one unless you want your cheese to taste like gym socks. Cleanliness is next to cheesiness.
Ingredients for Homemade Cheddar Cheese
The following are the ingredients to make a basic batch of cheddar cheese:
- Get the whole 2 gallons of non-ultrapasteurized milk
- Grab 1 packet of mesophilic starter culture
- Noniodized cheese salt
- If you want coloring, get annatto, or if you want white cheddar cheese, skip this step.
- Take a rennet tablet and dissolve it.
Step-by-Step Guide to Make Cheddar Cheese at Home
Step 1: Prepare the Milk
Take a large pot and add the milk to it. Heat it to 29°C or 85°F. You must stir it gently to avoid scorching.
Step 2: Add Starter Culture
Take the mesophilic starter and sprinkle it right on top of the milk. Let it rehydrate there for a solid two minutes so it soaks up some of that milky goodness. After that, go ahead and give it a good stir until it’s mixed in really nicely.
Step 3: Add Rennet
Add the rennet you just dissolved, and give it a gentle stir for a quick 30 seconds. Cover the lid on the pot and walk away for about 45 minutes. Wait until it forms a jiggly, pudding-ish consistency.
Step 4: Cut the Curd
Get a long and sharp knife and start slicing that curd into chunky little half-inch cubes. This whole step helps move the whey out and gives your cheese that dreamy texture.
Step 5: Cook the Curd
Increase the heat and get those curds to hit 100°F (38°C), give it about half an hour. Don’t just stand there, keep stirring, or you’ll end up with one giant cheese blob.
Step 6: Drain the Whey
Just dump the curds straight into a colander with some cheesecloth thrown over it. Let them chill for a bit, give the whey time to drip out and do its thing. You can scoop up some of that whey for later. It’s pretty good in bread or even added to a smoothie.
Step 7: Cheddaring Process
This step is where the cheddar gets its name. Pile up those curds into chunky slabs; don’t worry about making it perfect. Every ten minutes or so, flip them over like you’re trying to get a nice tan on both sides.
Step 8: Milling the Curds
Chop those slabs up into little cubes, bite-sized. Sprinkle some salt in there and give it a good mix. Seriously, don’t skimp. Salt does double duty: it keeps your cheese tasty and stops it from rotting.
Step 9: Pressing the Cheese
Now transfer these cut salted curds into a cheese mold lined with cheesecloth. Add a weight of 10-20 pounds on the cheesecloth for 12 hours.
Step 10: Aging the Cheese
Lastly, remove the cheese from the mold and let it air-dry for 2-3 days. After that, wax it so that no mold can grow there. Place it in a cool place to age for at least 2-3 months. The longer aging gives you sharp cheddar cheese with a bolder flavor.
Comparing with Feta:
Many people wonder how cheddar compares with feta. According to feta cheese nutrition facts and health effects:
- Cheddar has more calories than feta cheese.
- Feta is lower in protein and fat than Cheddar cheese.
- Cheddar cheese has higher calcium as compared to feta cheese.
If you are seeking energy, flavor, and nutrition, get cheddar cheese.
Conclusion
Making cheddar at home isn’t rocket science. Grab some decent ingredients, a couple of basic tools, and brace yourself for a little waiting game, and you are done. If you are making a white cheddar cheese or trying experiments with sharp cheddar cheese, you need to be focused and consistent. Also, you can learn the feta cheese nutrition facts and health effects from this blog so that you can choose the right one next time.
Tags:
Previous
Top 10 Benefits of Oat Milk That Could Change Your Health Routine
Next
What Are the Health Benefits of Winter Fruits and Why Should You Eat Them?